Using the CommerceKit Import/Export Feature
The CommerceKit Import/Export feature allows you to transfer Attribute Galleries and Attribute Swatches data between different websites that use Shoptimizer and CommerceKit. This makes it easy to set up a new store or migrate an existing one without losing important attribute-related data.
You can export CommerceKit data from the old site and import it into the new one in just a few steps.
1. Accessing the Import/Export Page
To begin, follow these steps:
- Open your WordPress Dashboard.
- Navigate to CommerceKit in the left-hand menu.
- Click on Import/Export.
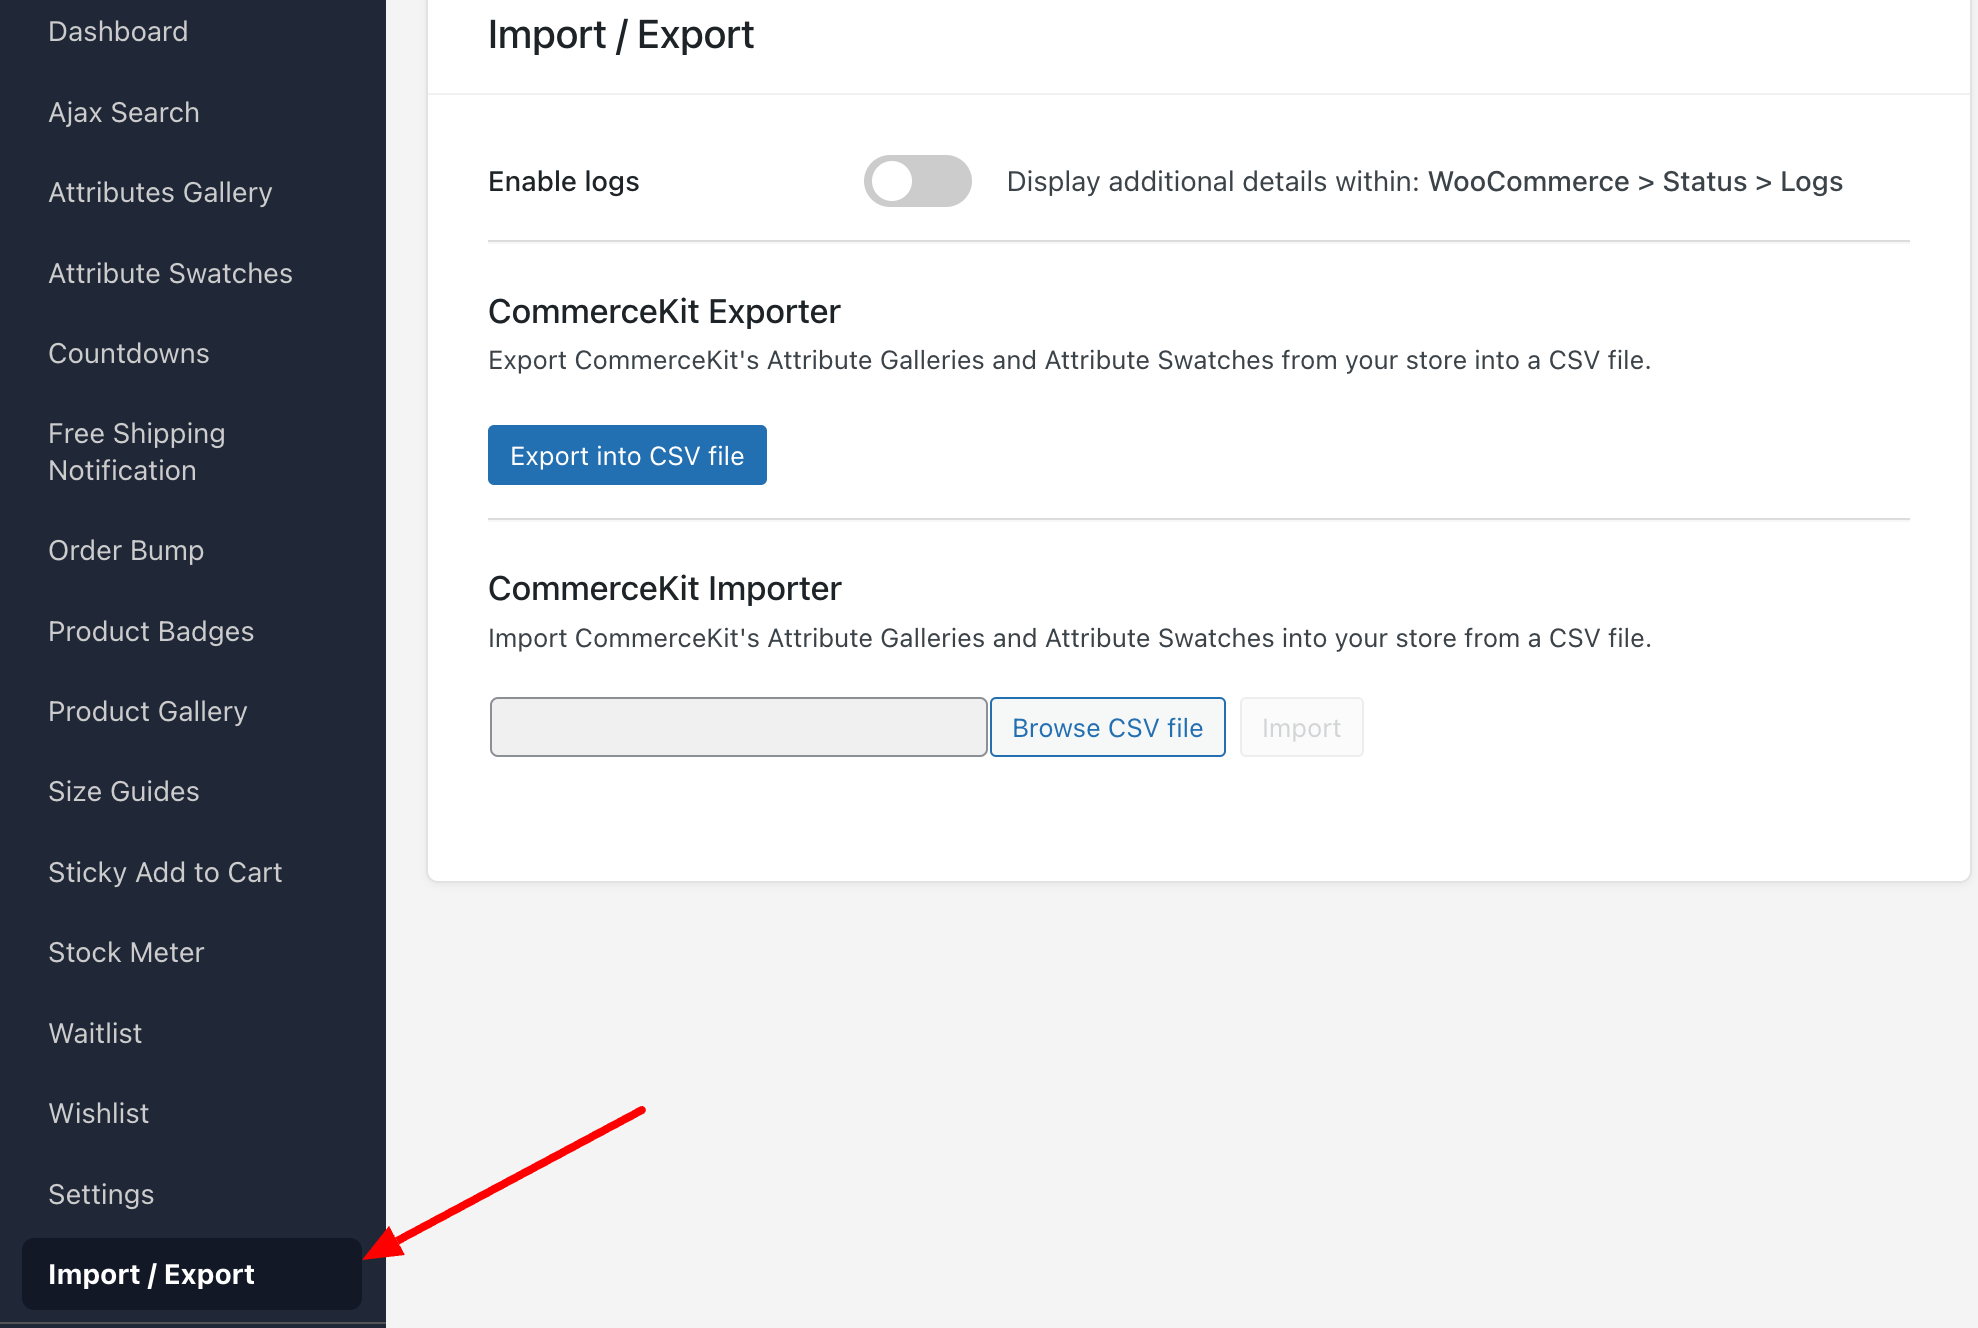
On this page, you’ll see:
✅ A toggle to enable logs (useful for troubleshooting).

✅ A button to export data into a CSV file.
✅ An import section where you can upload CSV files.
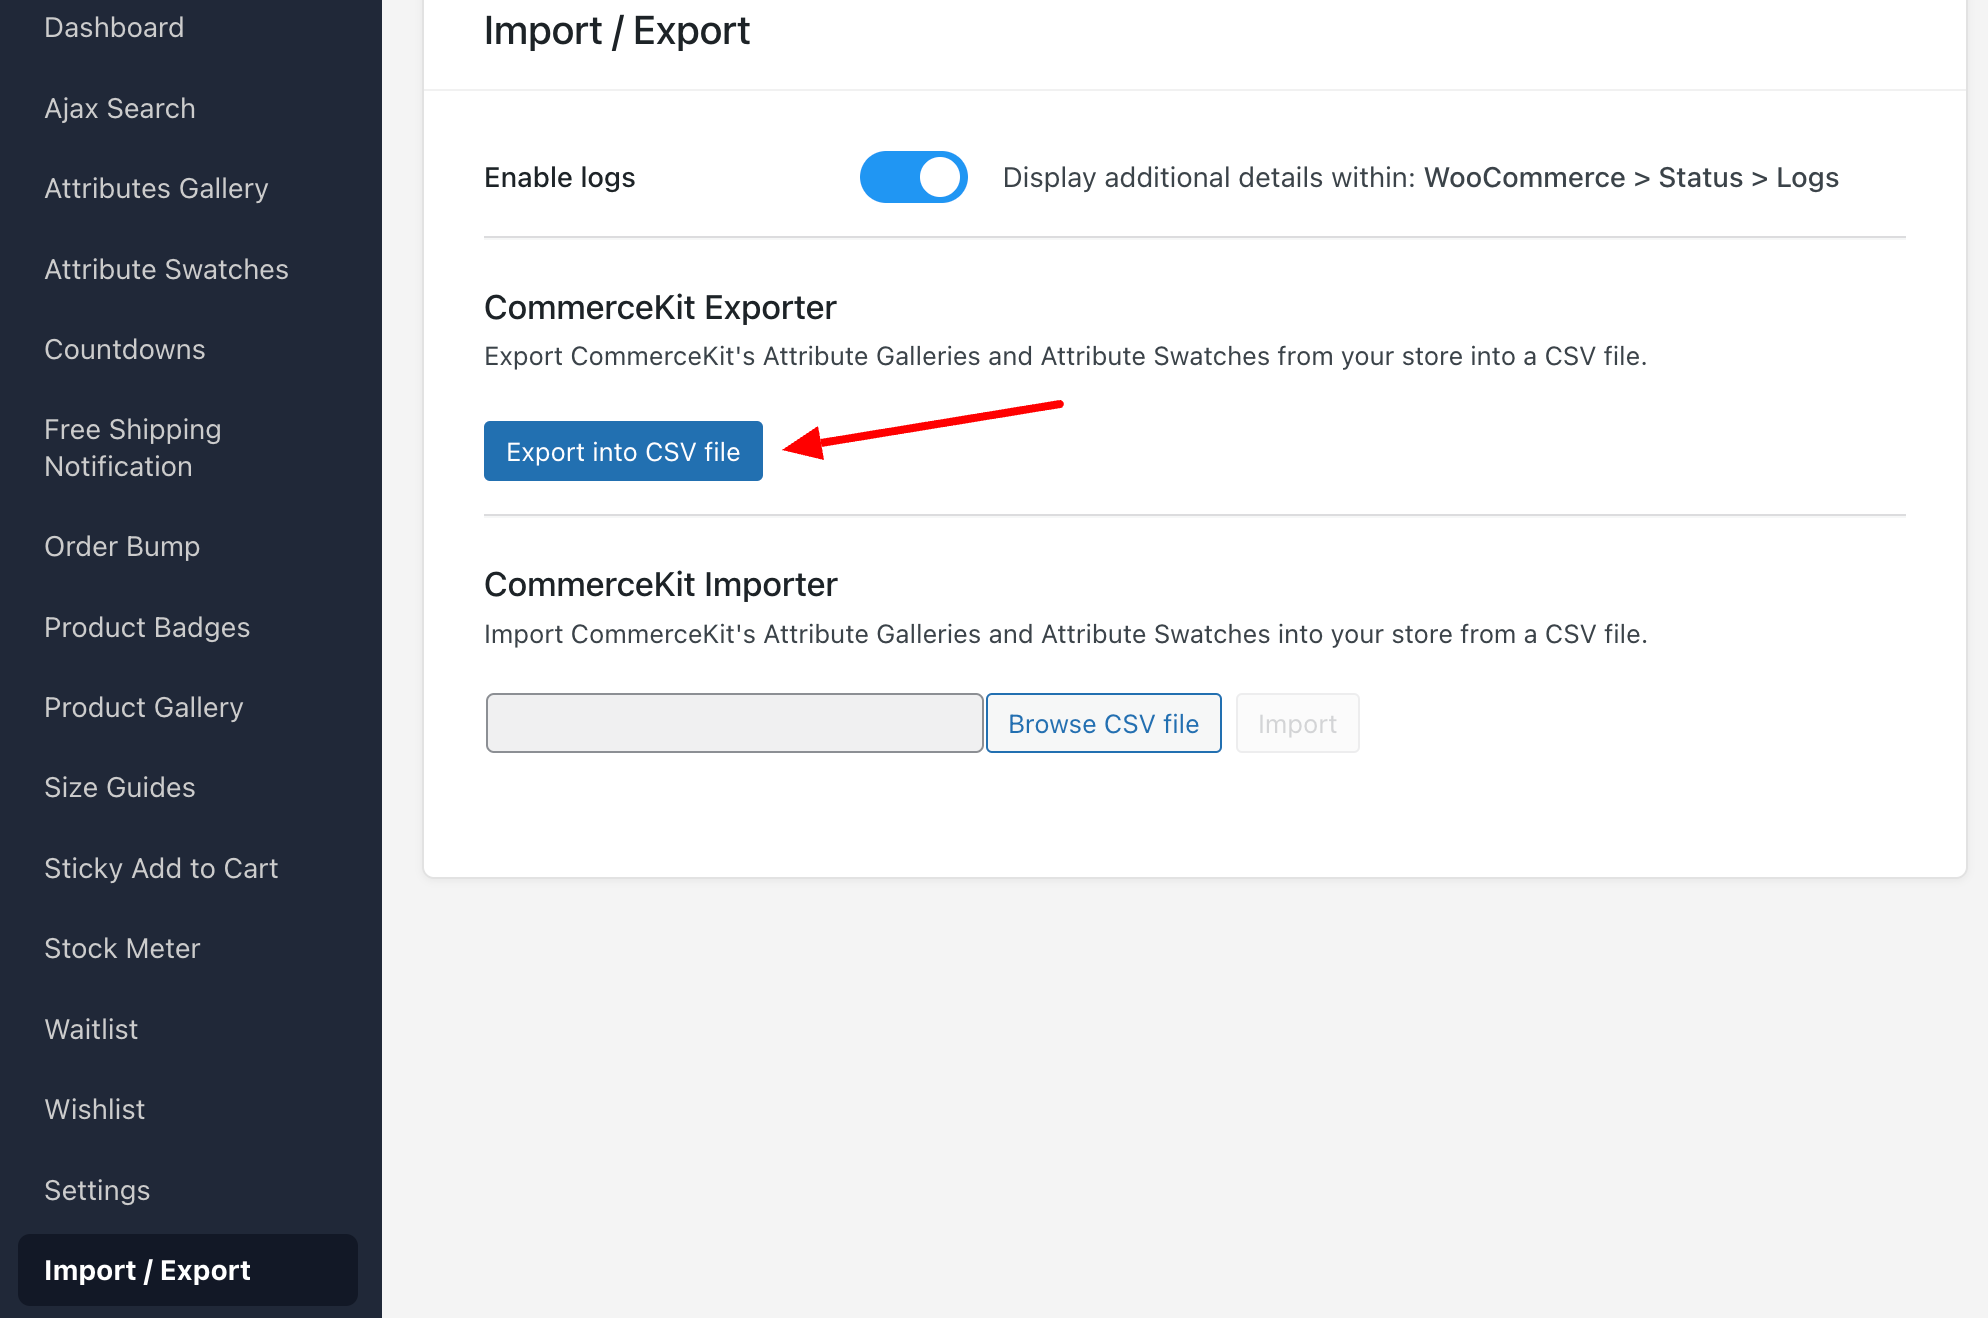
2. Exporting CommerceKit Data
The export function in CommerceKit allows you to download a CSV file that contains your Attribute Galleries and Attribute Swatches data.
Steps to Export CommerceKit Data:
- Enable Logs (Optional):
- If you want additional logging details, turn on the Enable logs toggle.
- Click “Export into CSV file”:
- CommerceKit will generate a CSV file containing all Attribute Galleries and Swatches.
- Save the CSV File:
- Download and store the file on your computer.
- This file is structured specifically for CommerceKit, ensuring easy re-import.
Pro Tip for Full Store Migrations:
- If you are migrating all your product data (including descriptions, images, and attributes), first use WooCommerce’s built-in Product CSV Importer/Exporter before using CommerceKit.
- When exporting products via WooCommerce, check the option:
✅ “Yes, export all custom meta”
- This ensures that all metadata, including custom fields, is preserved during migration.
- Once the WooCommerce CSV is imported into your new site, you can proceed with importing CommerceKit’s attribute-specific data.
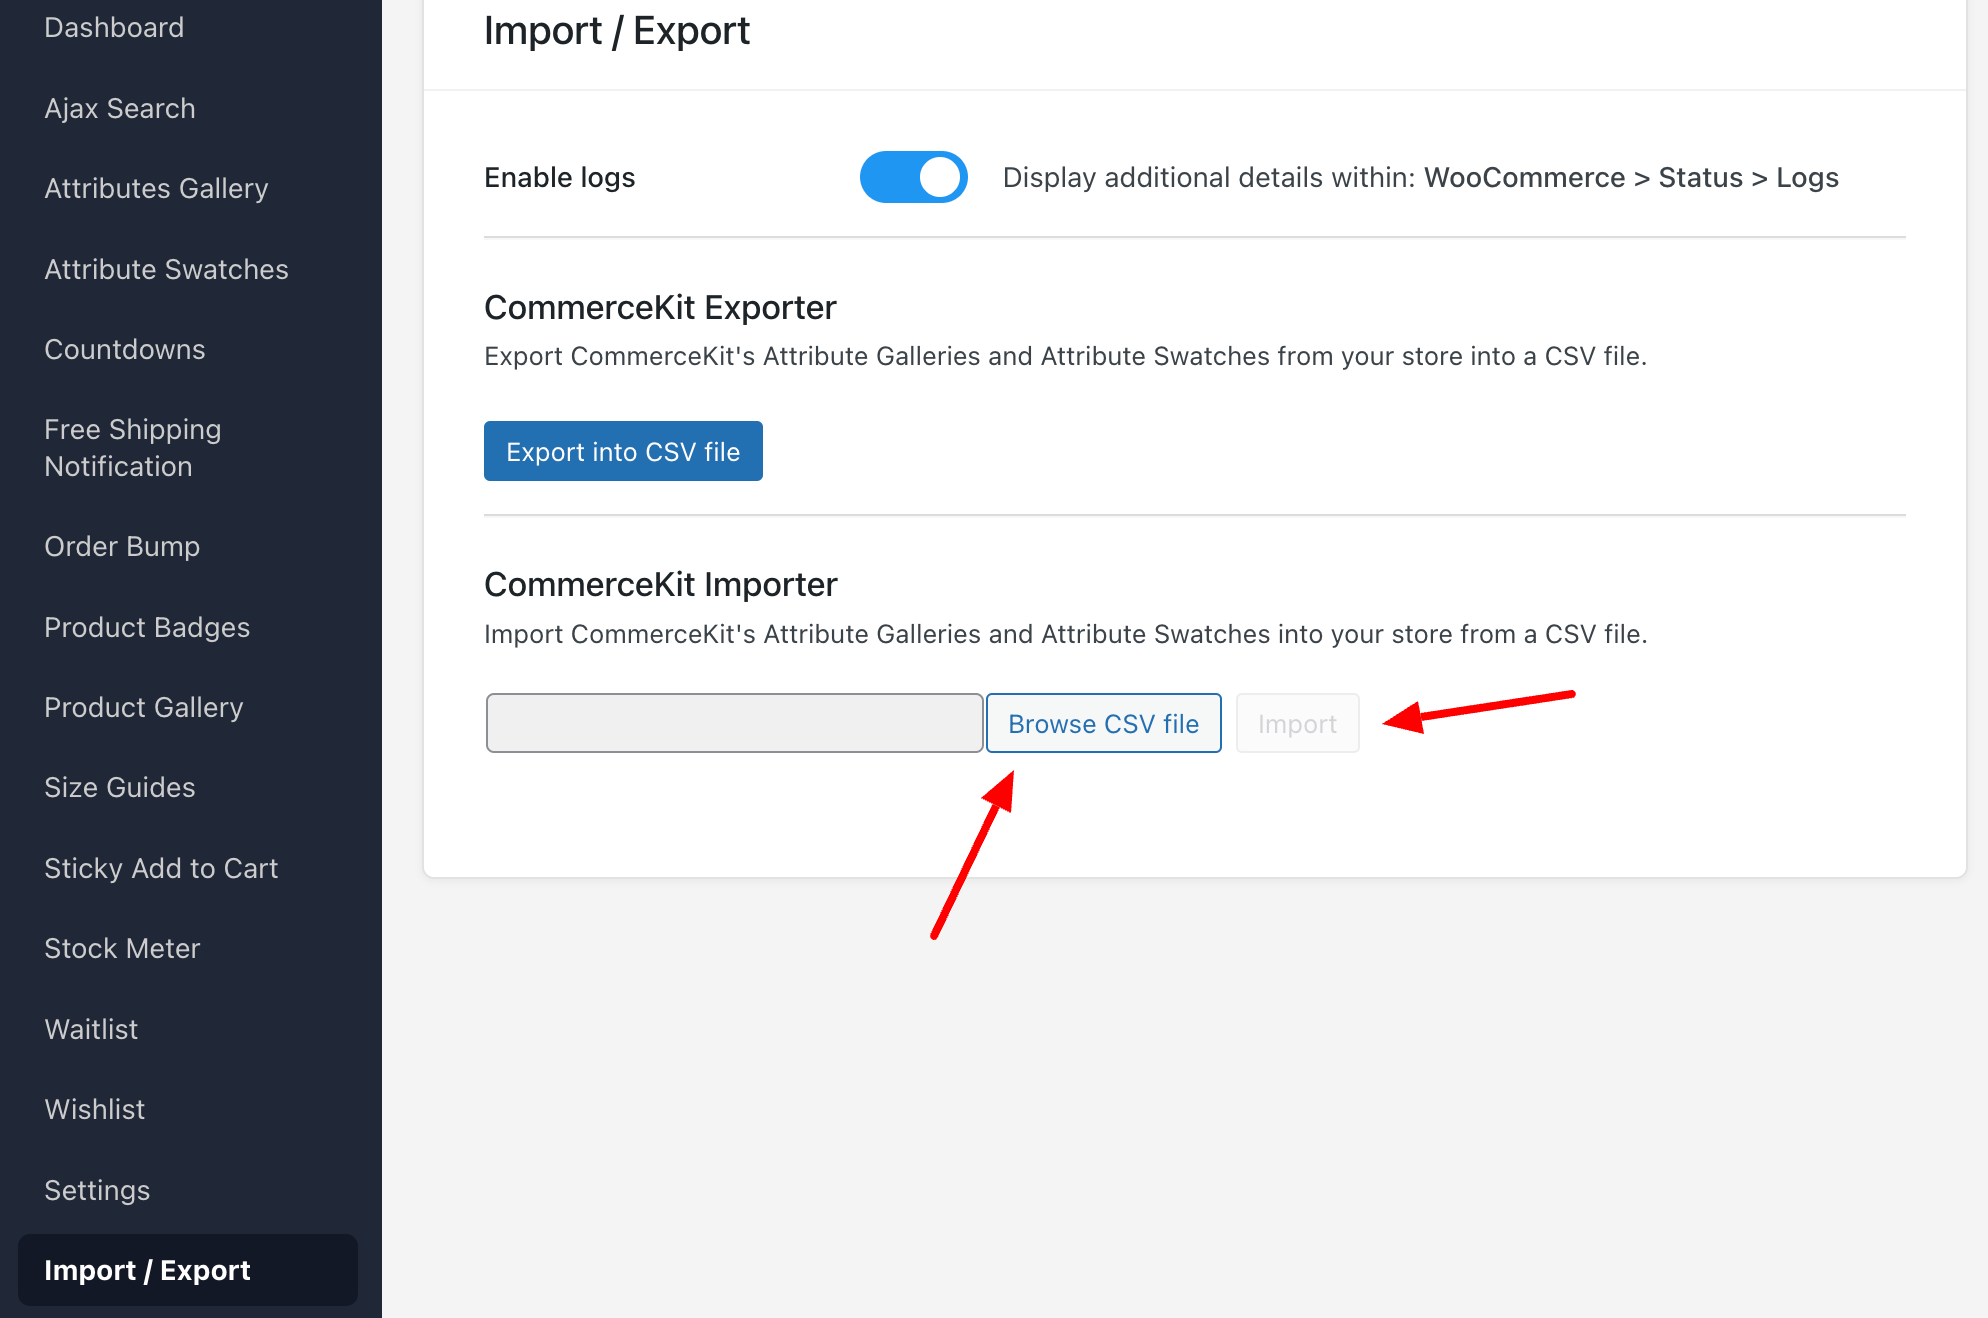
3. Importing CommerceKit Data
Once you have your CommerceKit CSV file, you can import it into your new store.
Steps to Import CommerceKit Data:
- Go to the CommerceKit Importer Section:
- In your WordPress Dashboard, navigate to CommerceKit → Import/Export.
- Click “Browse CSV File”:
- Locate and select the CommerceKit CSV file you previously exported.
- Click “Import”:
- Once a valid CSV file is selected, the Import button will become clickable.
- Click it to start the import process.
- Wait for the Confirmation Message:
- CommerceKit will add the Attribute Galleries and Attribute Swatches data to your new/existing products.
- A success message will appear once the process is complete.
4. Additional Notes
✔ Compatibility
- CommerceKit’s Import/Export tool only handles Attribute Galleries and Attribute Swatches data.
- If you need to migrate other product details (titles, descriptions, prices, images, categories), use WooCommerce’s native Import/Export tool first.
✔ Log Files for Troubleshooting
- If you enabled logs, you can find additional import/export details in:
📌 WooCommerce → Status → Logs - This is useful if you encounter errors during the import/export process.
✔ Important: CommerceKit Works Only with Shoptimizer
- The CommerceKit plugin is exclusively built for the Shoptimizer theme and will not function with other WooCommerce themes.
5. Best Practice: Two-Step Migration Approach
To ensure a smooth and error-free migration, follow this two-step process:
1️⃣ First, migrate all product data using WooCommerce’s built-in CSV Importer/Exporter.
- This includes product descriptions, categories, images, and attributes.
- Check “Yes, export all custom meta” to include additional metadata.
2️⃣ Then, use CommerceKit’s Import/Export tool to transfer the attribute-specific data.
- This ensures that Attribute Galleries and Attribute Swatches remain connected to the correct products.
6. Conclusion
By using CommerceKit’s Import/Export feature, you can easily transfer Attribute Galleries and Swatches between Shoptimizer websites without having to manually recreate them. When combined with WooCommerce’s built-in Importer/Exporter, this method provides a quick, accurate, and efficient way to set up a new store or migrate an existing one.
✅ No manual data entry required
✅ Ensures product attributes remain intact
✅ Works exclusively with the Shoptimizer theme
If you encounter any issues, refer to WooCommerce → Status → Logs or contact our support team for assistance.
🚀 Now, you’re ready to migrate your CommerceKit attributes effortlessly! 🎉