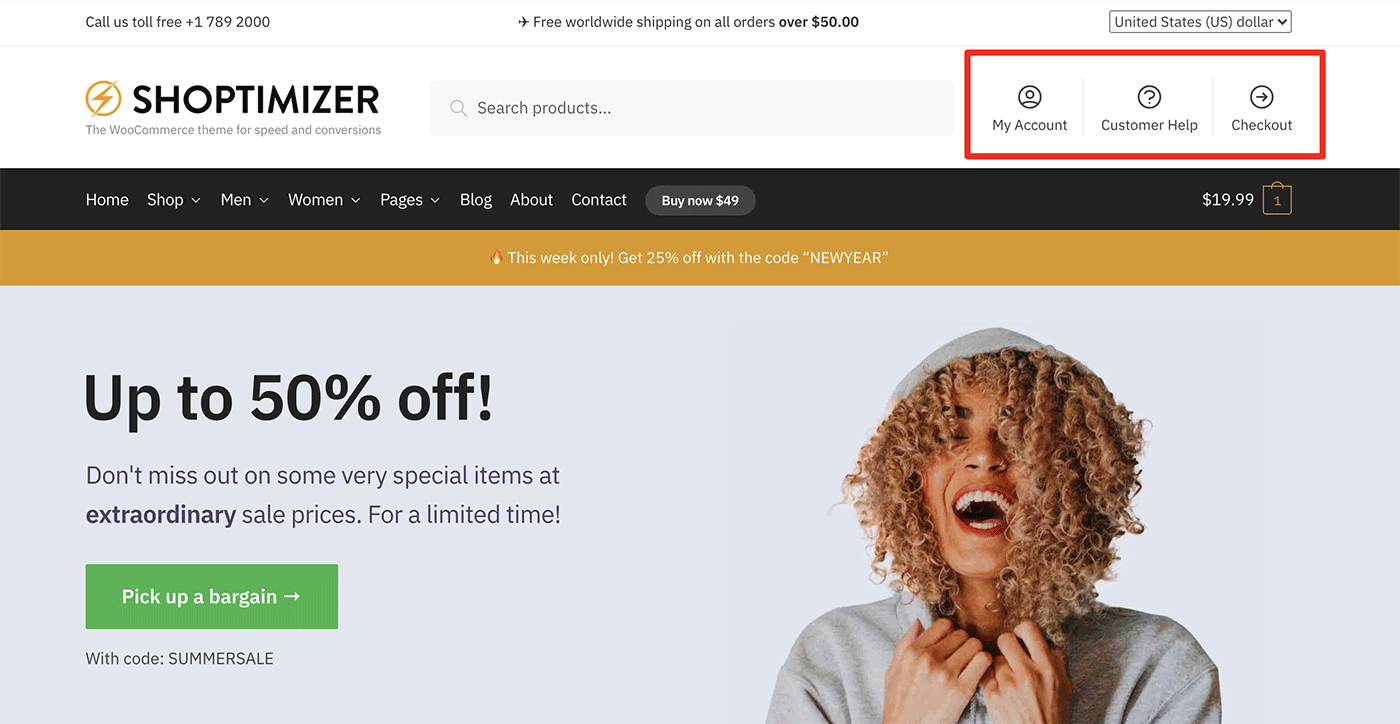
This is the secondary menu in Shoptimizer. It appears within the header and there are icons above each menu label.

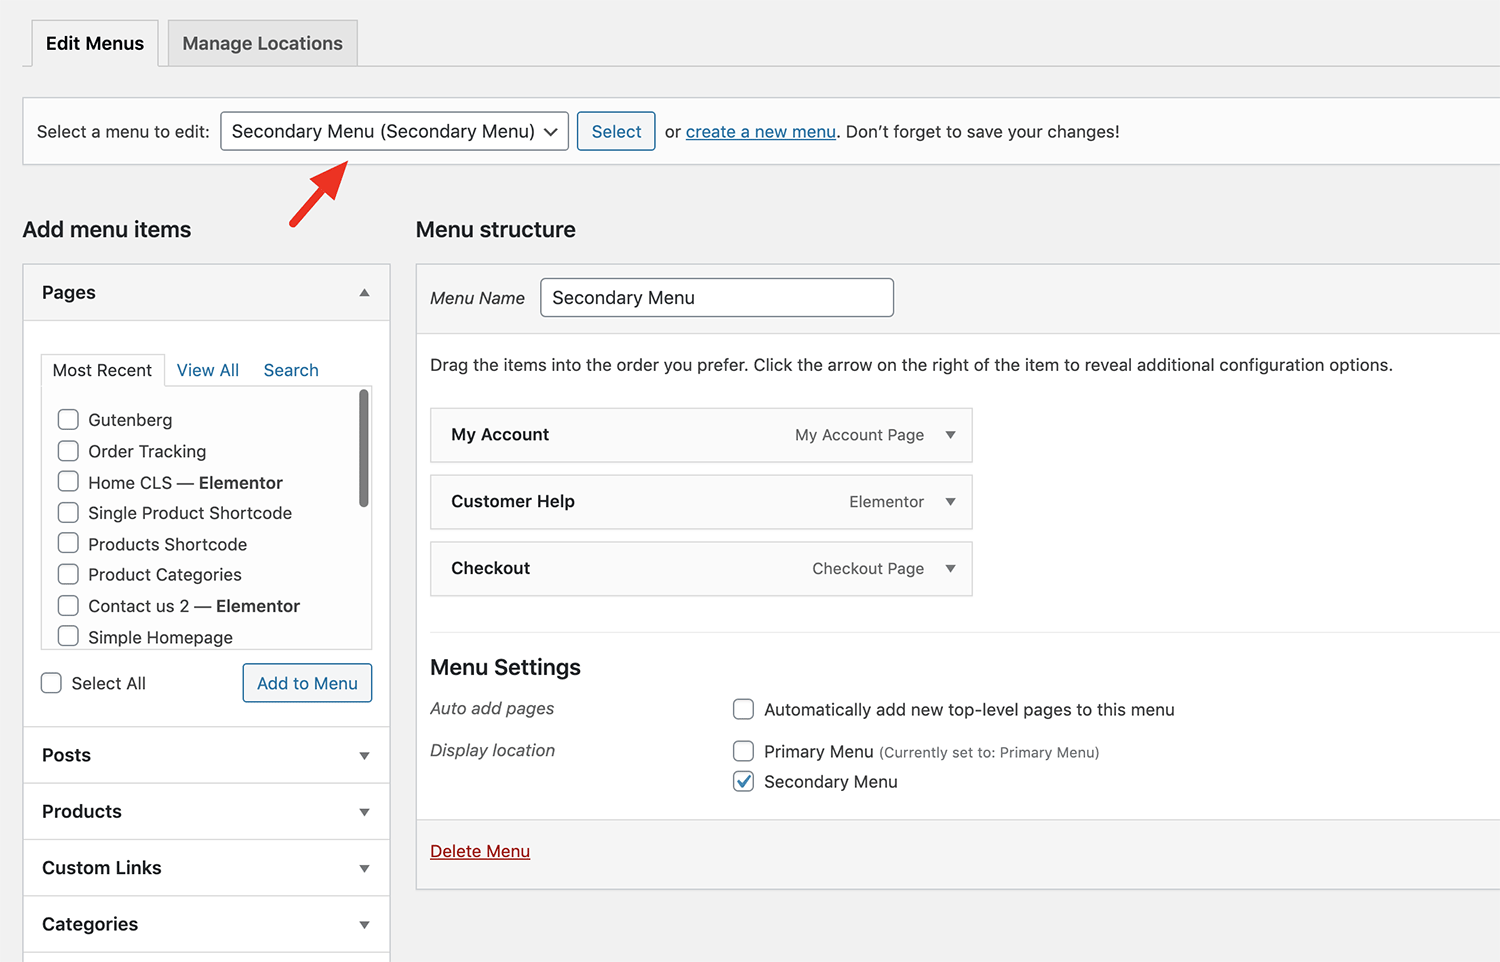
Go to: Appearance > Menus. You’ll need to first click on Screen Options at the very top and ensure that Description is ticked.

Next, select the Secondary Menu in the dropdown and click Select.

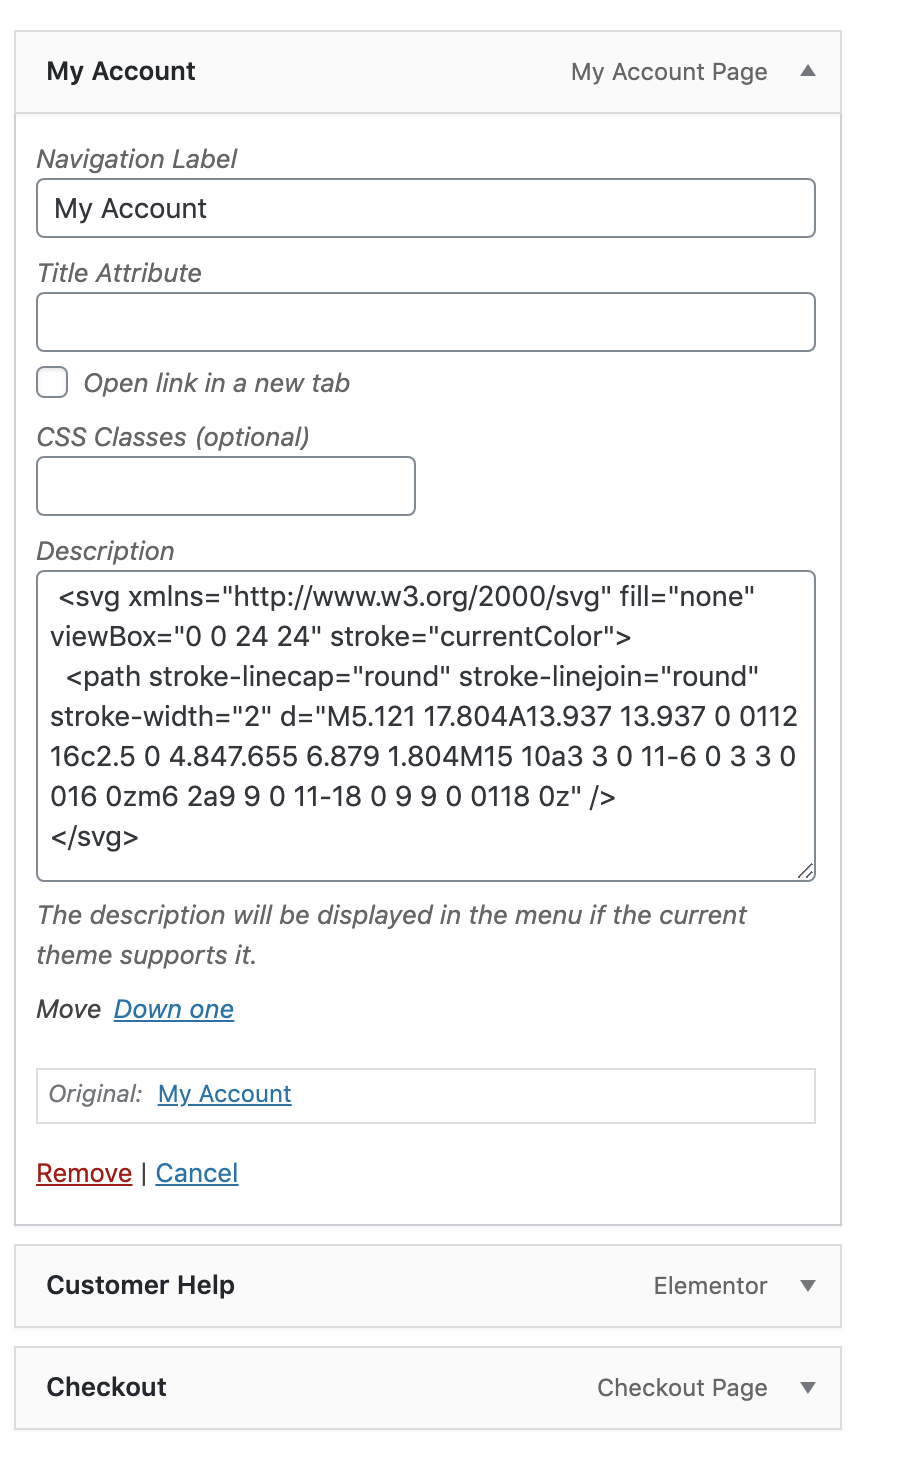
Edit a menu item and we’ll need to add a new SVG icon into the Description field for each and ensure that the CSS Classes field is empty.
Here is what it will look like:

Note that the CSS Classes field is empty.
And all that SVG code, where can you find that? Thankfully, Heroicons and Boxicons makes this very easy. You can search for an icon, hover over it and click Copy SVG.
Then, you can paste it into the Description field.
We’re using the Outline set in the theme demo but feel free to mix this up. Or indeed, use a different icon set entirely.
To make it even easier, this is the SVG code we’re using for each.
My Account:
|
1 2 3 |
<svg xmlns="http://www.w3.org/2000/svg" fill="none" viewbox="0 0 24 24" stroke="currentColor"> <path stroke-linecap="round" stroke-linejoin="round" stroke-width="2" d="M5.121 17.804A13.937 13.937 0 0112 16c2.5 0 4.847.655 6.879 1.804M15 10a3 3 0 11-6 0 3 3 0 016 0zm6 2a9 9 0 11-18 0 9 9 0 0118 0z" /> </svg> |
Customer Help:
|
1 2 3 |
<svg xmlns="http://www.w3.org/2000/svg" fill="none" viewbox="0 0 24 24" stroke="currentColor"> <path stroke-linecap="round" stroke-linejoin="round" stroke-width="2" d="M8.228 9c.549-1.165 2.03-2 3.772-2 2.21 0 4 1.343 4 3 0 1.4-1.278 2.575-3.006 2.907-.542.104-.994.54-.994 1.093m0 3h.01M21 12a9 9 0 11-18 0 9 9 0 0118 0z" /> </svg> |
Checkout:
|
1 2 3 |
<svg xmlns="http://www.w3.org/2000/svg" fill="none" viewBox="0 0 24 24" stroke="currentColor"> <path stroke-linecap="round" stroke-linejoin="round" stroke-width="2" d="M13 9l3 3m0 0l-3 3m3-3H8m13 0a9 9 0 11-18 0 9 9 0 0118 0z" /> </svg> |


