This is a two-step process. First, we need to:
Step 1: Install the appropriate language pack for WooCommerce
So, say you want to add French as a second language. You’ll first need to add WooCommerce’s French language pack. This includes all the text strings used within WooCommerce – which is the majority – there are very few within the theme.
WooCommerce’s guide is here: https://docs.woocommerce.com/document/woocommerce-localization/
It involves downloading a zip file of the language and placing it into a directory. But I noticed a trick to this. Your language files should be put into this directory:
/wp-content/languages/plugins
And not:
/wp-content/languages/woocommerce
You’ll probably have to FTP them up into this directory – and create it if it doesn’t already exist.
So, with our French example you should have these 2 files in this folder structure.
/wp-content/languages/plugins/woocommerce-fr_FR.mo
/wp-content/languages/plugins/woocommerce-fr_FR.po
Step 2: Install the Weglot Translate Plugin
We suggest the excellent Weglot Translate plugin to do this. Their installation guide for WordPress goes through the steps on setting up the plugin.
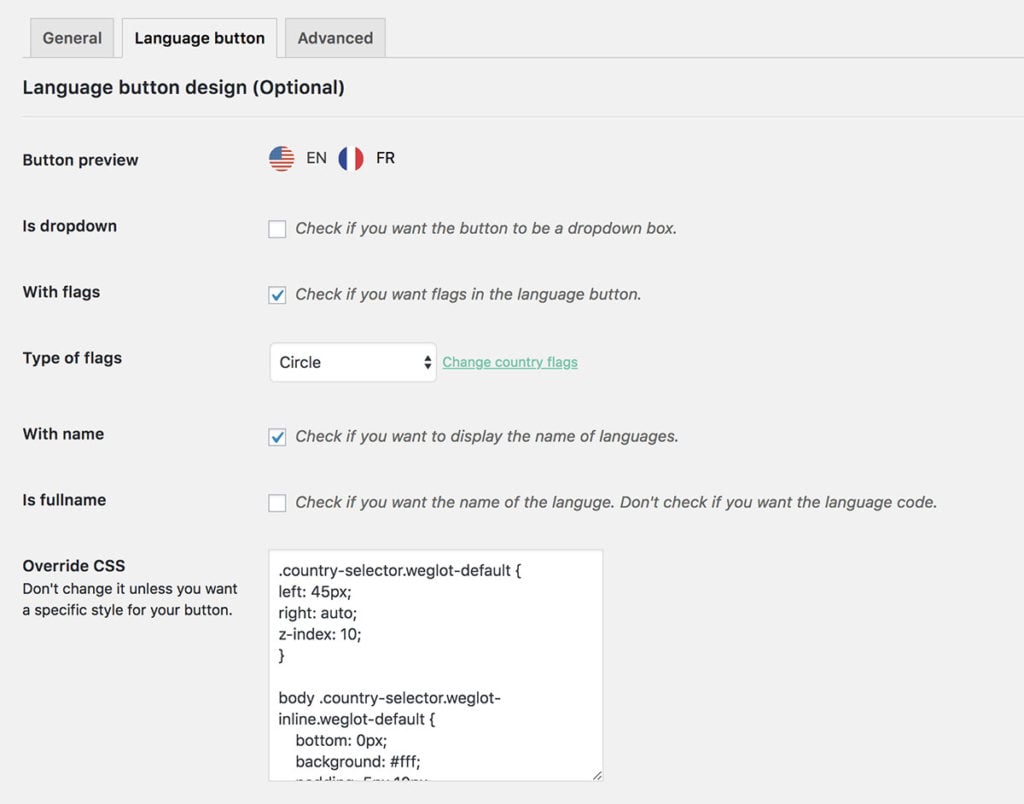
Once installed and set up, if you want to display the language switcher in the same fashion as our demo, do the following. Go to Weglot and click on the Language button tab.

We’re using some Override CSS to style it differently than the default. You can paste the following into that box if you wish.
|
1 2 3 4 5 6 7 8 9 10 11 12 13 14 |
.country-selector.weglot-default { left: 45px; right: auto; z-index: 10; } body .country-selector.weglot-inline.weglot-default { bottom: 0px; background: #fff; padding: 5px 10px; font-size: 12px; border: 1px solid #eee; border-bottom: none; } |


