Creating an accessible eCommerce store isn’t just about compliance—it’s about inclusivity and a better user experience for all.
Millions of people rely on accessible design to navigate and shop online, and businesses that prioritize accessibility can benefit from increased customer reach, improved SEO, and legal protection.
No matter where your site is based or where your customers are located, it’s never been more important to ensure that your store is accessible. With regulations coming into effect and being enforced worldwide, including the ADA in the US and the EAA in Europe, failing to embrace accessibility is becoming increasingly risky.
To help you get up to speed, this guide covers everything you need to know, from essential best practices to tools and techniques that ensure your store is usable for everyone.
Whether you’re just starting out or looking to enhance your accessibility efforts, this guide will help you build a more inclusive and successful online store.
10 Ways to Improve Accessibility at Your eCommerce Store
Evaluating your eCommerce store against the following accessibility components will help to make your online shop welcoming.
As mentioned, accessibility isn’t just about complying with regulations. It also helps to increase sales, improve search engine visibility, and boost your brand.
1. Add Image Alt Text
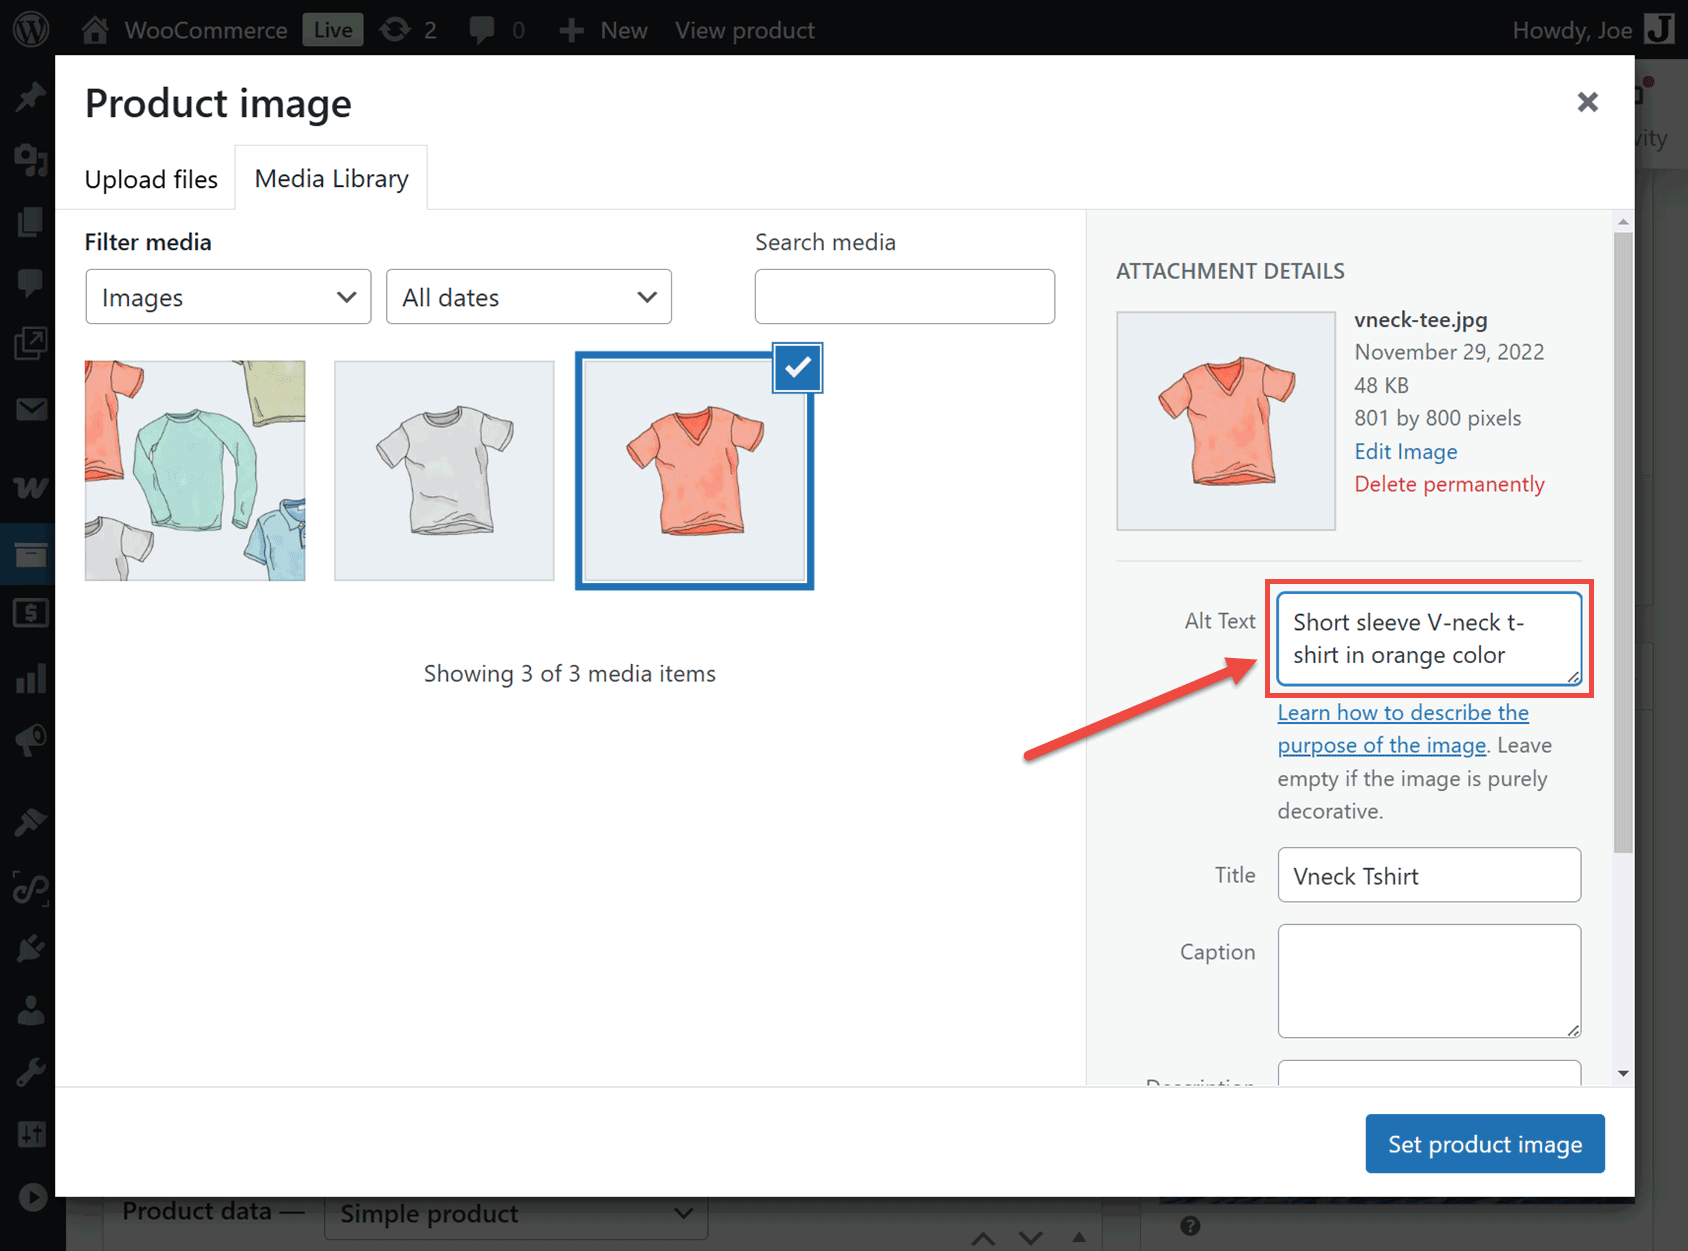
Image alt text (alternative text) is essential to eCommerce accessibility. Adding this text to the images on your site allows visually impaired visitors who use screen readers to understand the visual content at your store.
Alt text also enhances SEO by helping search engines understand the images on your site. Providing context improves the search engine’s ability to interpret your page’s content and relevance. This, in turn, boosts your chances of ranking higher and appearing in relevant search results.
When creating alt text for your images, it’s best to be descriptive and concise. Avoid vague or subjective language, such as “amazing” or “stylish”. Instead, stick to more factual language, such as the color and other physical properties.
Not all images need alt text, though, such as images used purely for decorative purposes. However, if the image is an essential part of the page, such as conveying key information, it probably needs alt text.
If you want to automate adding alt text to images, then the Alt Text AI plugin can help. To save time, it can also create alt text in bulk for existing images on your WordPress site. But it will be important to manually check the generated alt text afterwards.
2. Color Contrast
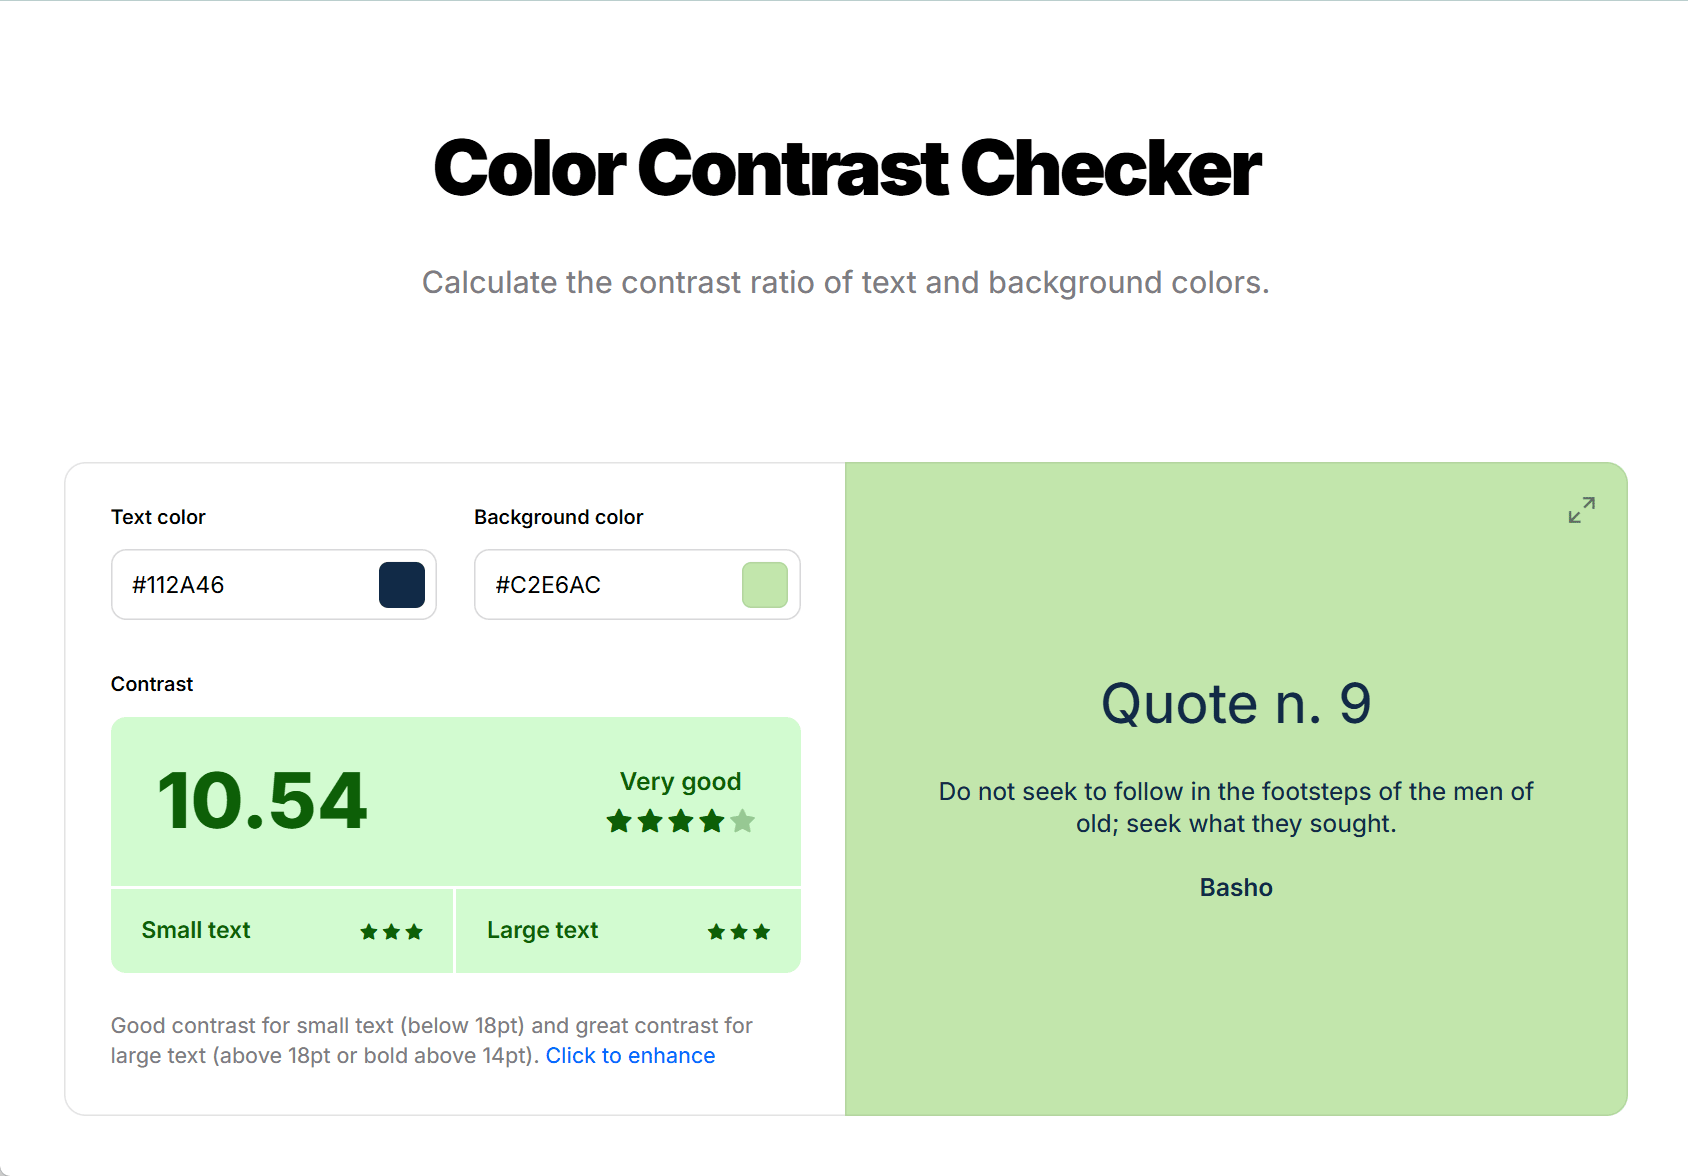
Color contrast—the difference in lightness or darkness between two colors—is another important aspect of eCommerce accessibility.
Poor or low color contrast between the background of your pages and the text or navigation elements makes it very difficult for everyone to access your site and browse your store.
For those with visual impairments or color blindness, low color contrast can make your site inaccessible.
If you’d like to check the contrast of specific colors, there are free tools that can help.
Implementing high contrast between text and background color is a quick way to improve readability, enhance the shopping experience, and prevent user frustration.
3. Heading Tag Structure
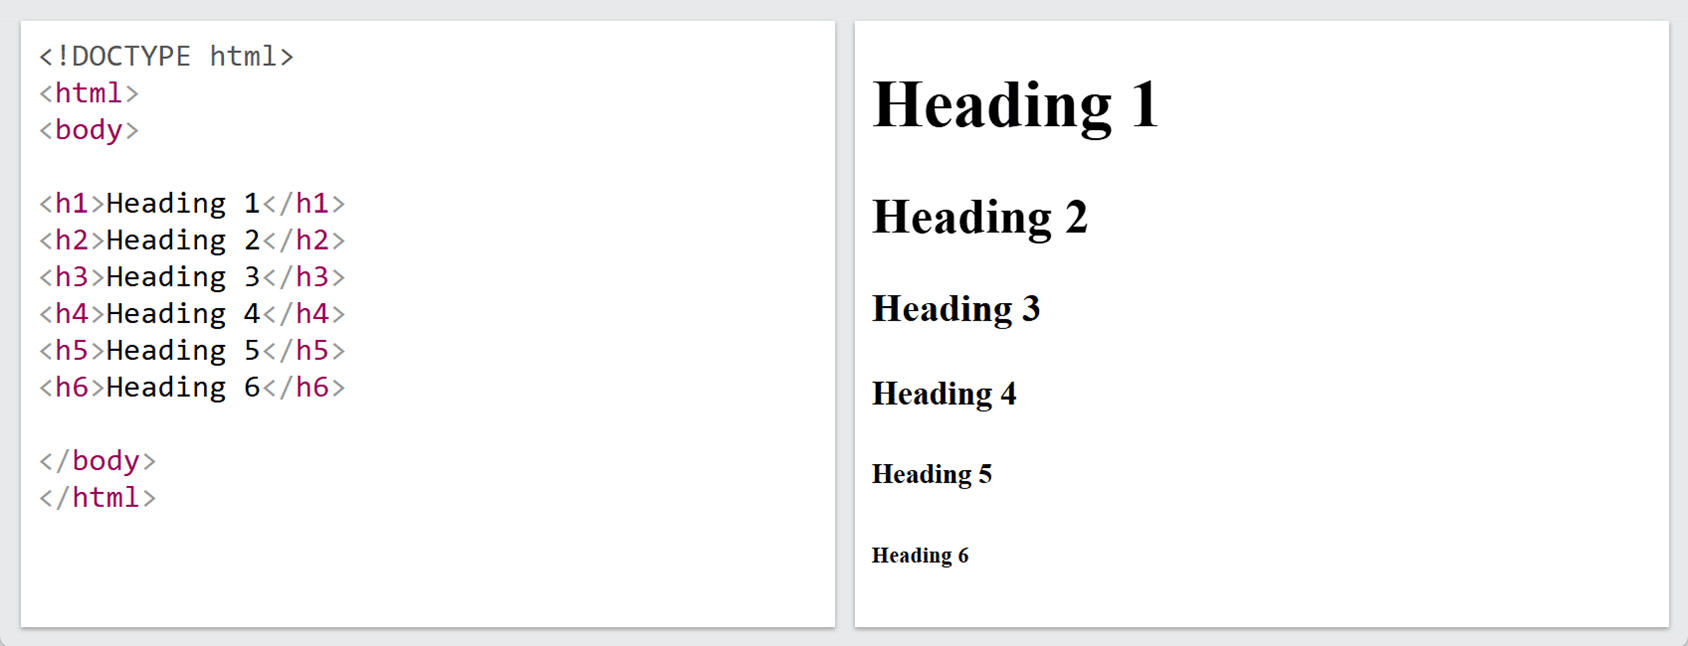
Web pages use headings to present and structure their content.
Headers range from H1 to H6 and are used to create a clear content hierarchy.
As well as providing a visual guide to the structure of a page, heading tags help those using screen readers to navigate a page. Search engines use headers as well to get a better understanding of the content and topic of a page.
When using headers on your page, ensure you don’t skip levels, such as going from H2 to H4.
Using headings is essential for complying with accessibility standards like WCAG, so be sure to structure them appropriately.
4. Link Text
Descriptive link text is vital for eCommerce store accessibility. It allows screen reader users to understand the purpose of a link without needing additional context. They can then make an informed decision on whether to click the link or not.
Instead of using generic phrases like “Click here,” link text should clearly describe the destination, such as “View product details” or “Go to checkout.”
This all helps to improve navigation, enhance the shopping experience, and ensure compliance with accessibility standards.
5. Accessibility Overlay Plugins (Don’t use!)
You might be tempted to use accessibility overlay plugins or similar tools to automatically make accessibility improvements to your store, such as modifying the color contrast, fonts, and navigation.
However, accessibility experts don’t recommend this approach as these tools don’t usually meet full WCAG compliance.
They also raise privacy concerns that can lead to legal issues. It’s possible that they can interfere with accessibility tools that visitors might use to access your site as well.
Instead, make manual improvements to your site to fix the underlying issues, such as those mentioned in this guide, to create a truly inclusive experience for your audience.
6. Keyboard Friendly Navigation
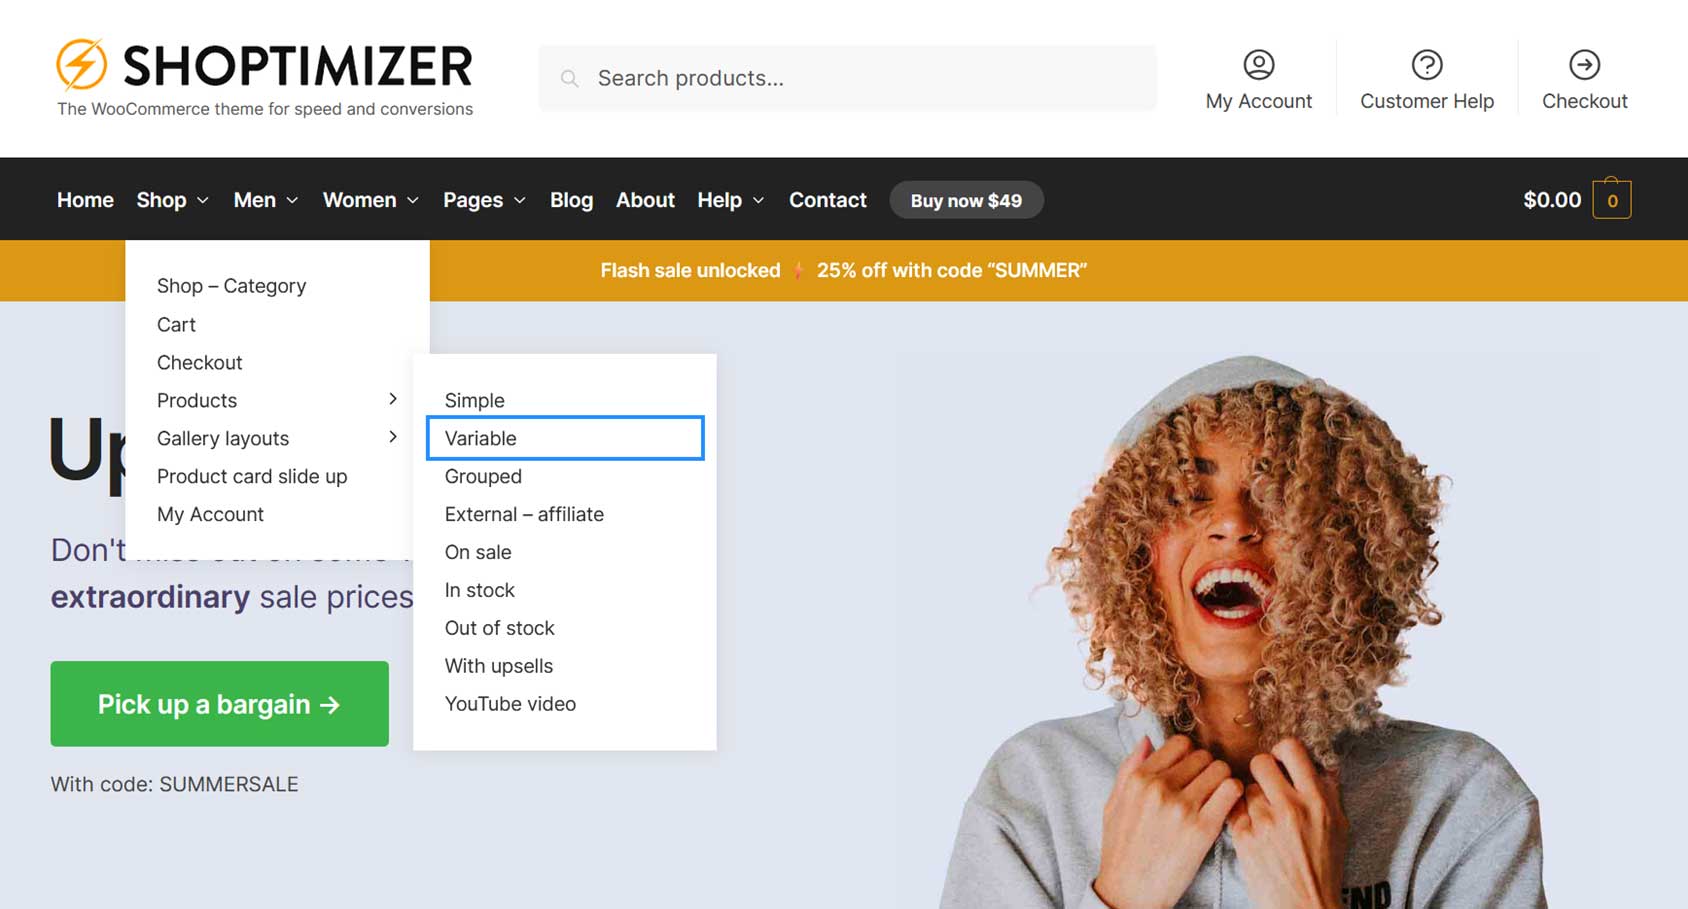
If you want to make your store accessible to shoppers who can’t use a mouse, then it must have keyboard-friendly navigation. This allows visitors to use the tab and other keys to explore your store and make purchases.
As visitors use their keyboard to navigate your site, the cursor’s current position or focus state needs to be clearly highlighted. This should include adding a prominent border around the element that’s currently selected so that the visitors know where they are on the page.

You can test how accessible your store is by using only the keyboard navigation keys to browse it.
Key aspects to consider when implementing keyboard-friendly navigation include a logical tab order, ensuring forms are accessible, adding “skip to content” links, and visible focus indicators, such as highlighting interactive elements.
7. Screen Reader Compatibility
In addition to testing for keyboard navigation support, you should also test the experience at your store for visitors using screen readers.
Implementing the points mentioned earlier, such as adding image alt text, using a suitable heading structure, and descriptive link text, will all make your store easier to navigate with a screen reader.
However, it’s not until you test it yourself that you’ll see where there’s room for improvement.
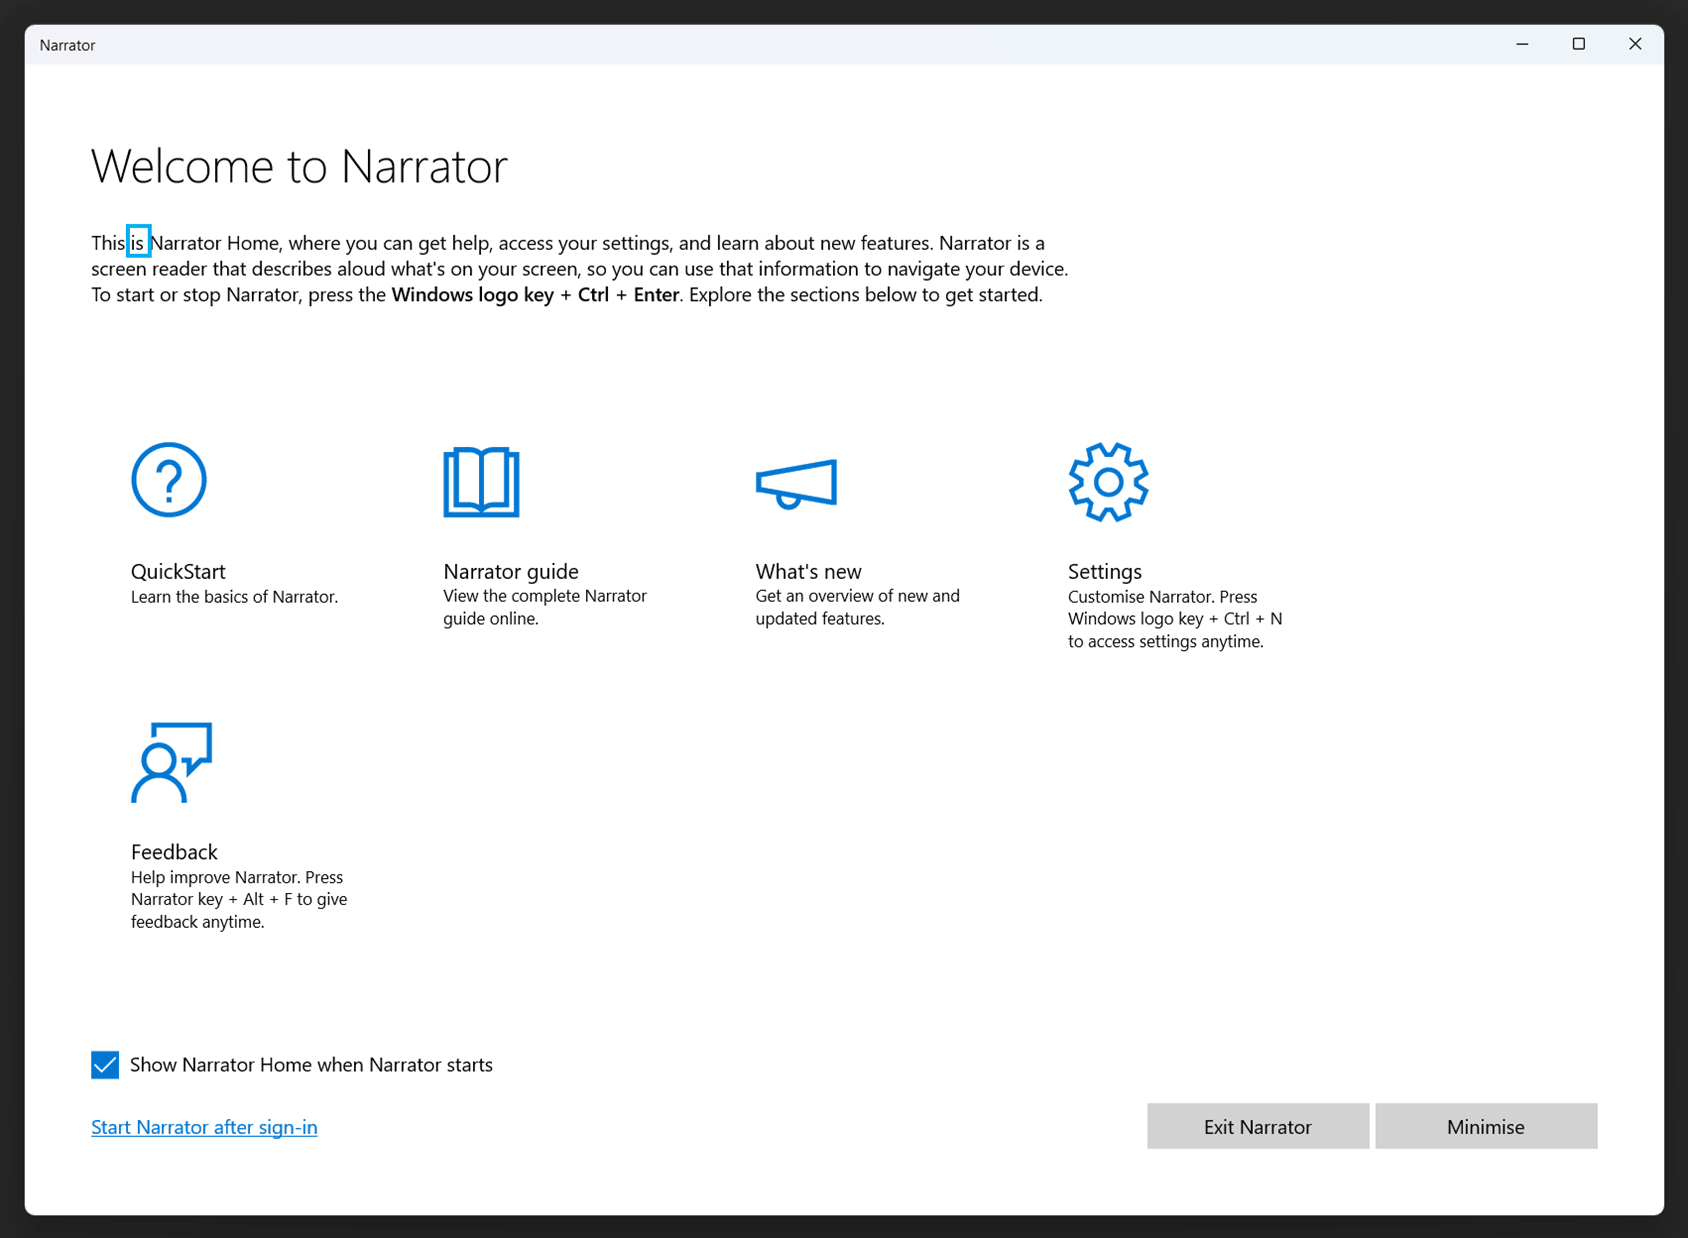
VoiceOver on macOS, Narrator for Windows, and the NVDA screen reader are three options for discovering how screen reader-friendly your store is.
You can also find more information about screen readers in this WooCommerce guide to accessibility best practices.
8. Test Third Party Plugins and Apps
Adding third-party tools to your site, such as plugins or apps, can raise accessibility issues, even if the rest of your store is fully optimized.
Therefore, when testing new apps and plugins on your development site, be sure to also check for potential accessibility issues, such as those mentioned above, including screen reader and keyboard navigation support, color contrast, and anything else that might disrupt accessibility or usability.
Also, it’s much more time-consuming and costly to replace inaccessible apps and features after they have been integrated into your store. Therefore, it’s vital that proper testing is carried out before integrating anything new into your site. You should also ask developers what steps they’ve undertaken to make their app, or any work they are doing for your site, WCAG 2.1 compliant.
9. Use Accessibility Tools
The above information provides a good checklist to work through when assessing your store now and before making any changes going forward.
However, identifying all accessibility issues in your store can be challenging and time-consuming.
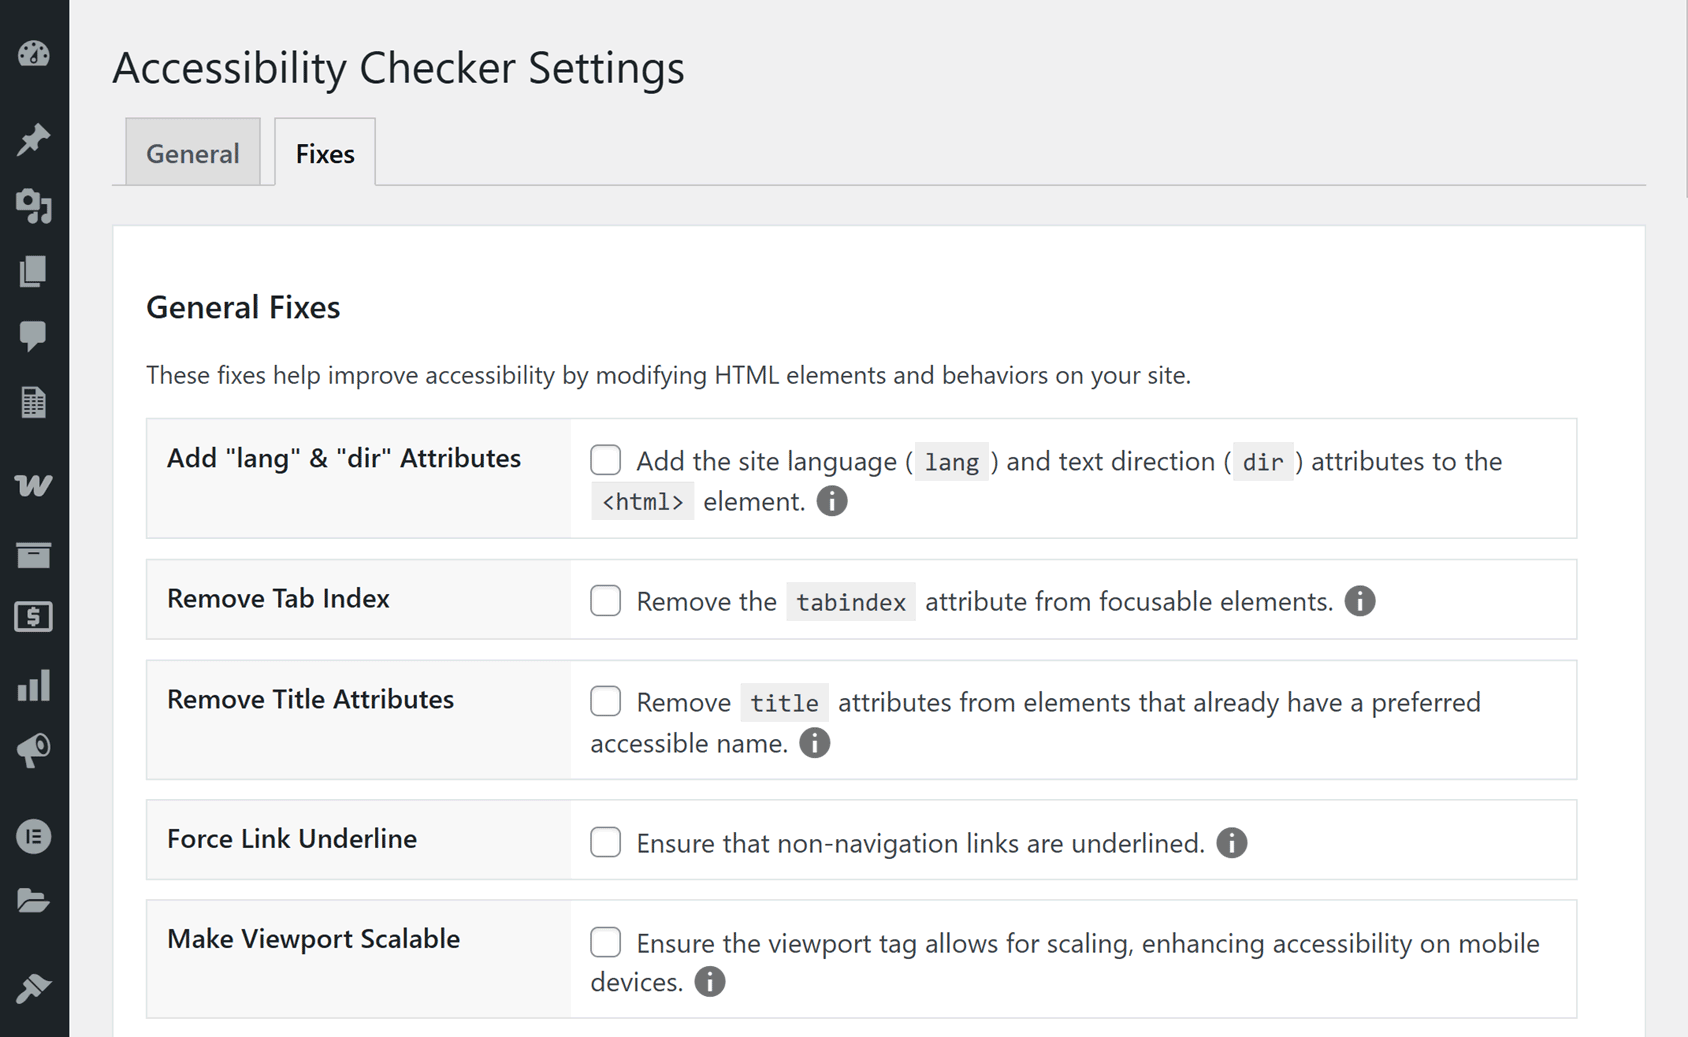
To simplify the process and gain better insights, consider using dedicated accessibility tools like WAVE and Equalize Digital. These tools automatically detect issues, including ARIA errors affecting screen reader users and form accessibility problems that could prevent checkouts, helping you create a more inclusive shopping experience.
This comparison of Equalize Digital Accessibility Checker vs. WAVE provides a good overview of both tools to help you decide which one to use.
10. Use Semantic HTML
Using HTML’s native accessibility features properly is another essential part of creating an inclusive eCommerce experience.
A common mistake is using the HTML elements <a> or <span> instead of <button> for interactive elements. As the <button> element is supported by keyboard navigation and screen readers, it makes it easier for those using these aids to navigate a page.
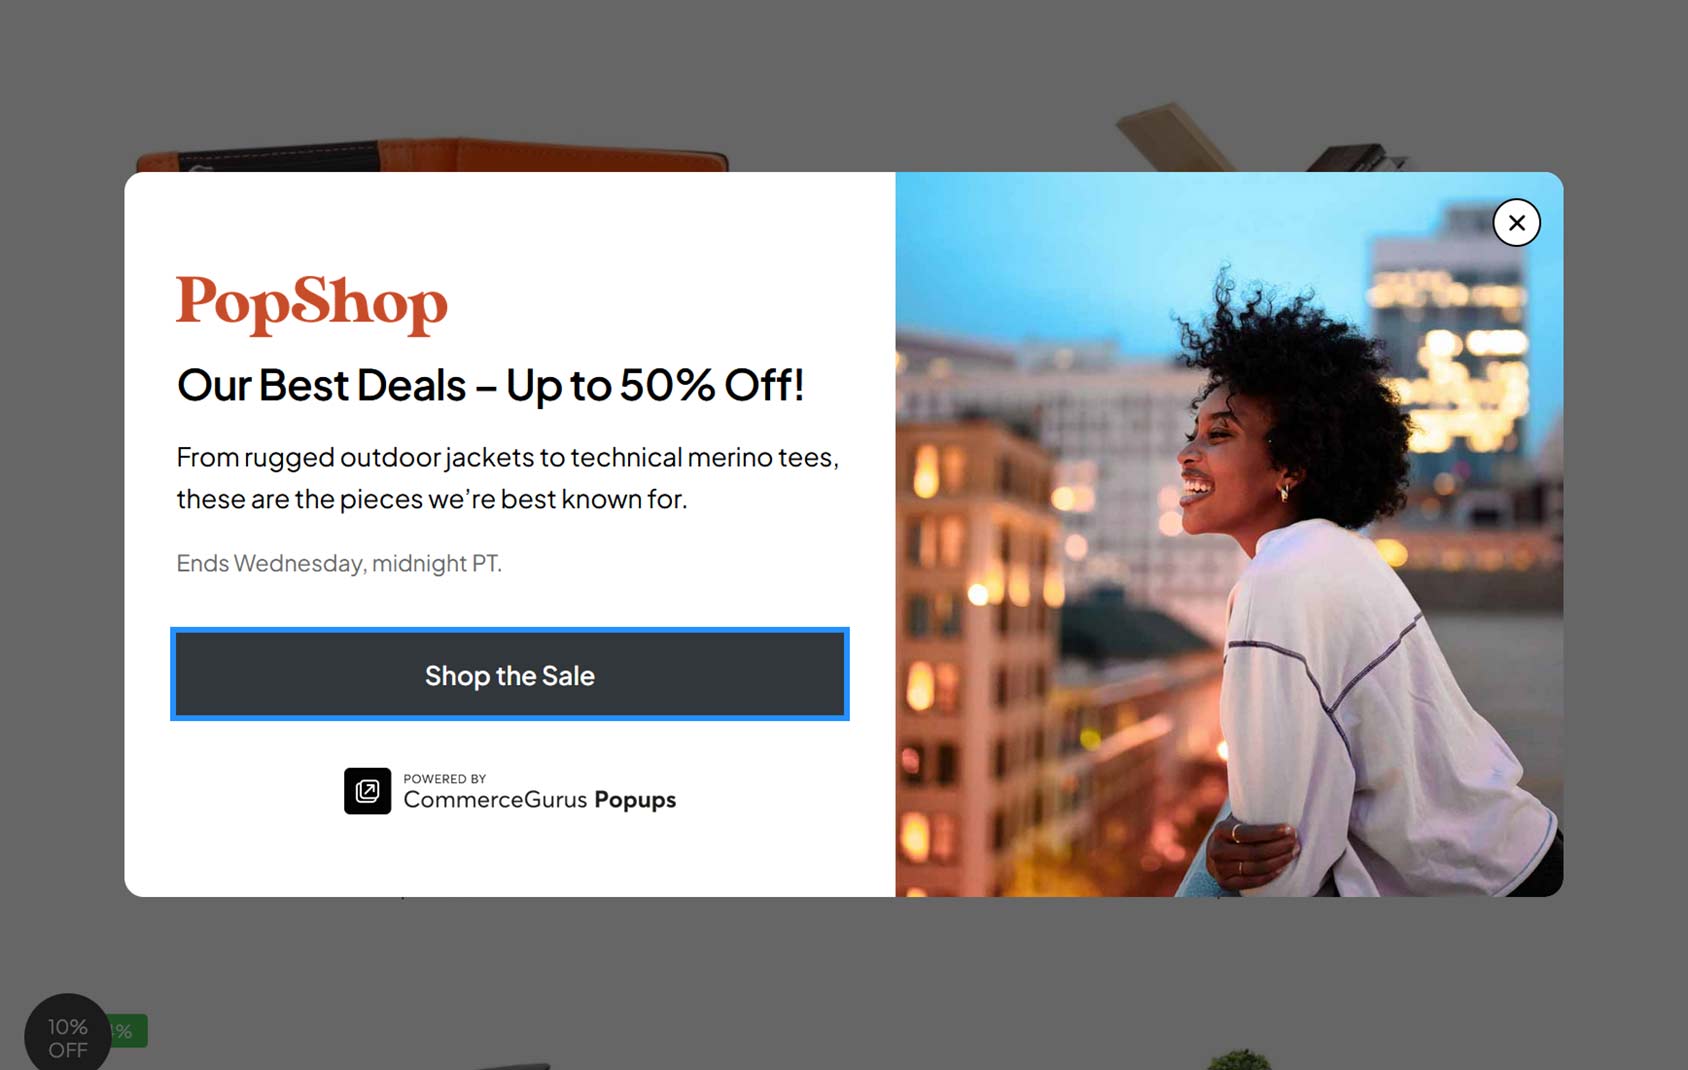
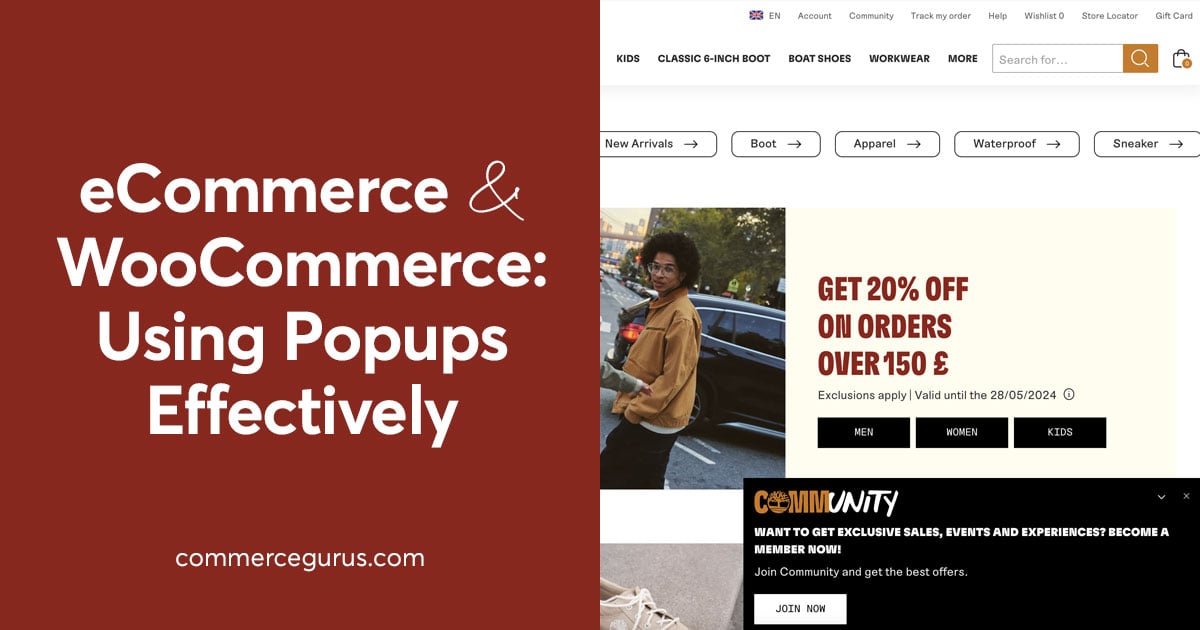
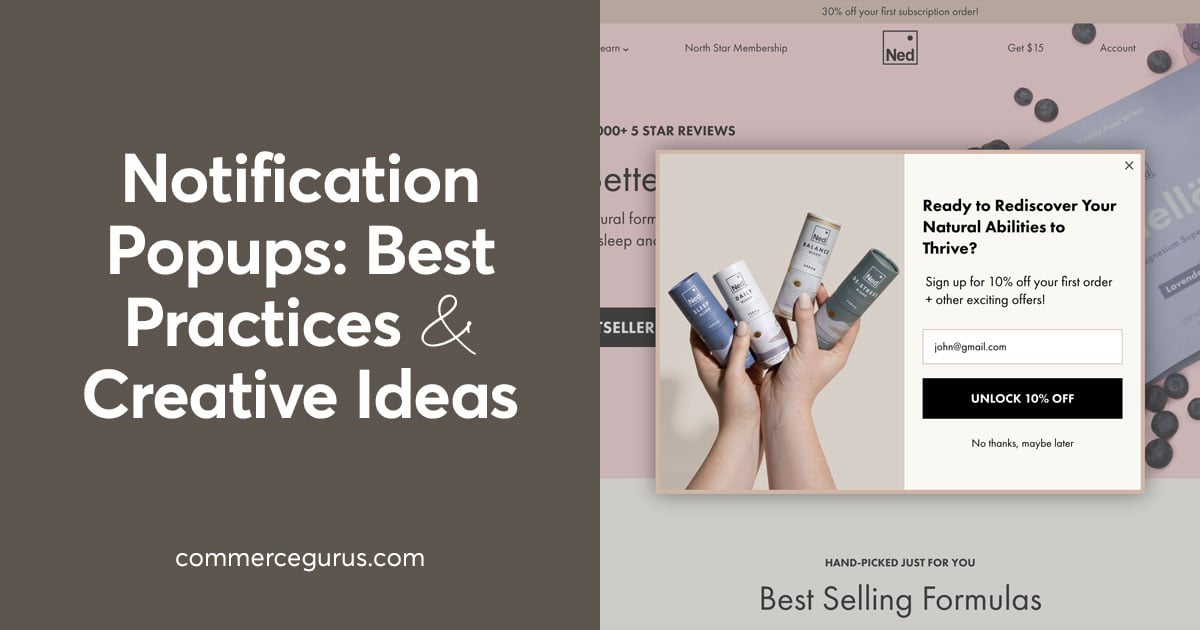
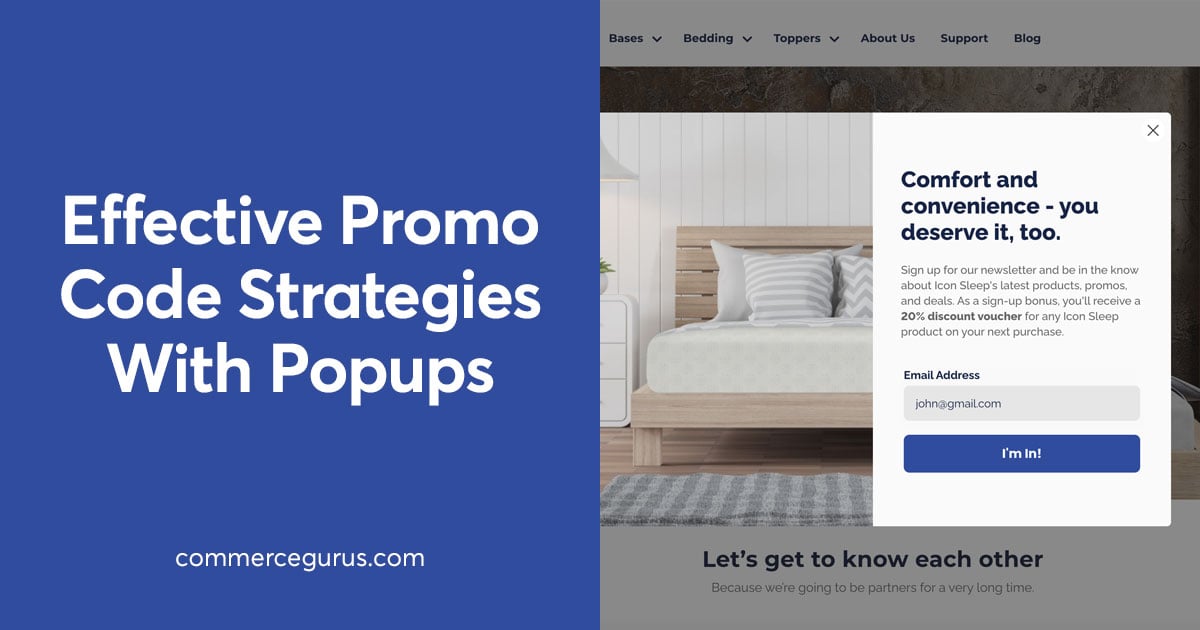
Modals, also known as popups, can also cause problems if not using the proper HTML, especially for those using screen readers and keyboard-only visitors. When it comes to modals, the <dialog> element is the preferred choice due to built-in accessibility features such as focus trapping.
In terms of best practice, ensuring the modal receives focus when opened and preventing the background content from being navigable is recommended. Adding a clearly marked close button that is keyboard accessible is essential, too.
Then, when the modal is closed, the focus should be returned to the button that triggered it.
For more guidance, check out this Equalize Digital guide on accessible modals, which includes a helpful video and markup.
Summary
As we’ve just seen, there are many ways to improve the accessibility of your eCommerce store.
Beyond being a legal requirement, accessibility is simply good business—it ensures that as many people as possible can easily browse and shop at your store. Ignoring accessibility is like opening a physical store without a wheelchair-friendly entrance. You’re excluding potential customers to save a relatively small amount of effort.
Whether you’re launching a new eCommerce site or improving an existing one, the guidelines above provide a strong foundation for creating a more inclusive shopping experience.

 Migrating from Magento Go to WooCommerce
 WooCommerce Hooks: Introduction, Tutorial, and Real-Life Examples
 Fluid Checkout Pro Review
 9 Examples of the Best Post-Purchase eCommerce Emails